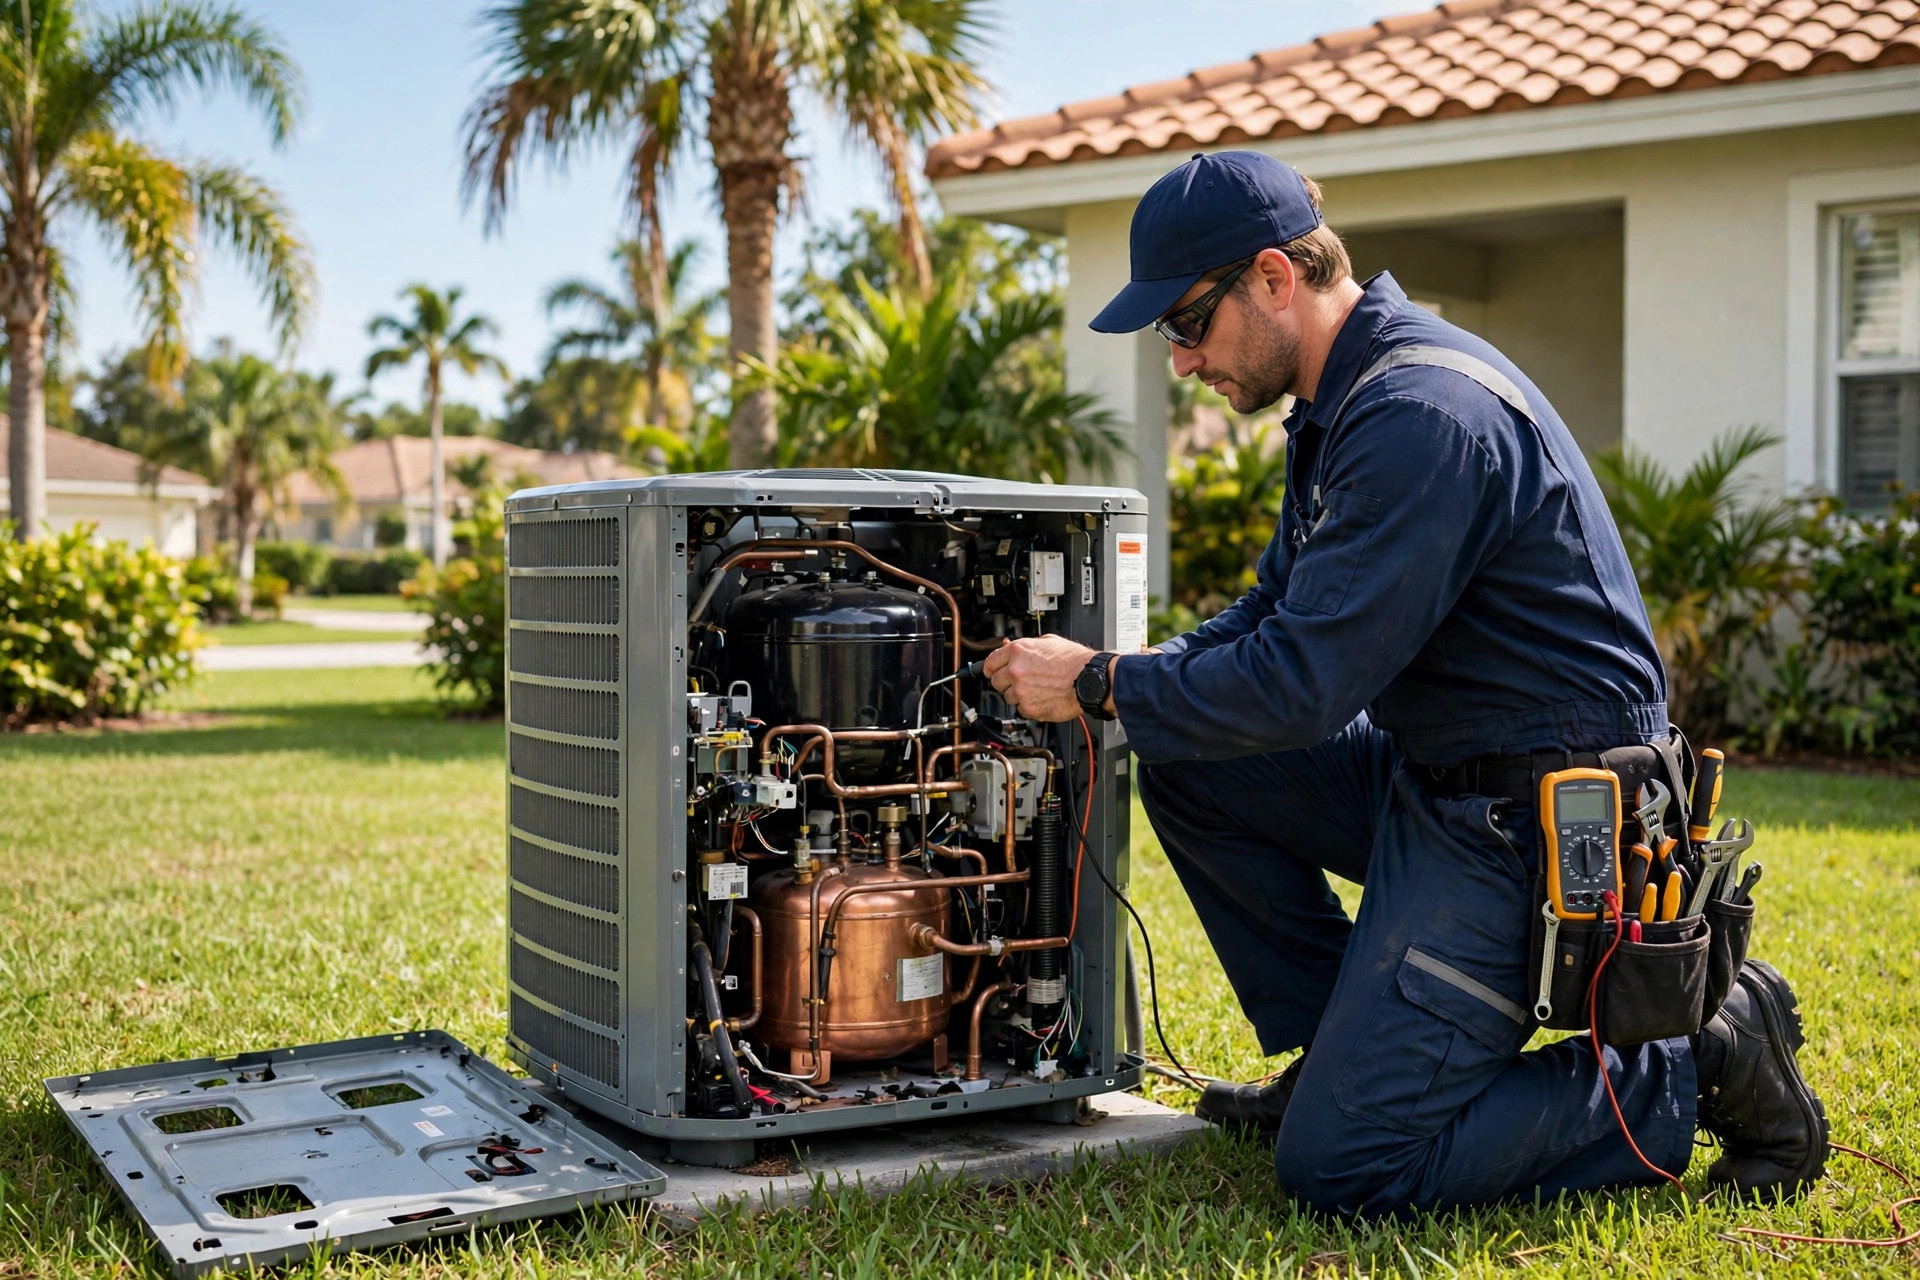
- Can You Actually Repair an AC Compressor?
- Start With the Cheapest Fix: The Capacitor
- Refrigerant Leaks: Why Your Compressor Keeps Struggling
- Electrical Components: Contactors, Relays, and Wiring
- Motors: Fan Motors, Overheating, and What They Signal
- When Components Fail Together: Repair or Replace?
- What to Expect When a Marco Island Tech Arrives
- Keeping Components Alive in Salt Air
Can You Actually Repair an AC Compressor?
Let's answer the big question first: yes, some compressor problems are genuinely repairable — but the compressor itself is rarely one of them. When homeowners search "how to repair ac compressor," what they usually need is a fix for the components around the compressor: the capacitor, contactor, refrigerant charge, or fan motor. Those fail far more often than the sealed compressor, and they're far cheaper to repair.
The compressor is the heart of your system — it pressurizes refrigerant so heat can be carried out of your home. It lives in the outdoor condenser unit, sealed inside a steel canister with refrigerant lines and high-voltage wiring. Because it handles high pressure, high voltage, and regulated refrigerant, compressor work is not a DIY project. What is in your hands: accurate troubleshooting, knowing the warning signs, and making the right call about repair versus replacement. This guide covers the four component groups that cause most "compressor" service calls — compressor electrics, refrigerant leaks, airflow/duct issues, and motors — plus how each repair actually works.
Start With the Cheapest Fix: The Capacitor
If your outdoor unit hums but the compressor never kicks on, the number-one suspect is the run capacitor. HVAC troubleshooting references consistently cite the failed capacitor as the most common reason a compressor won't start — and it's one of the least expensive repairs in the trade.
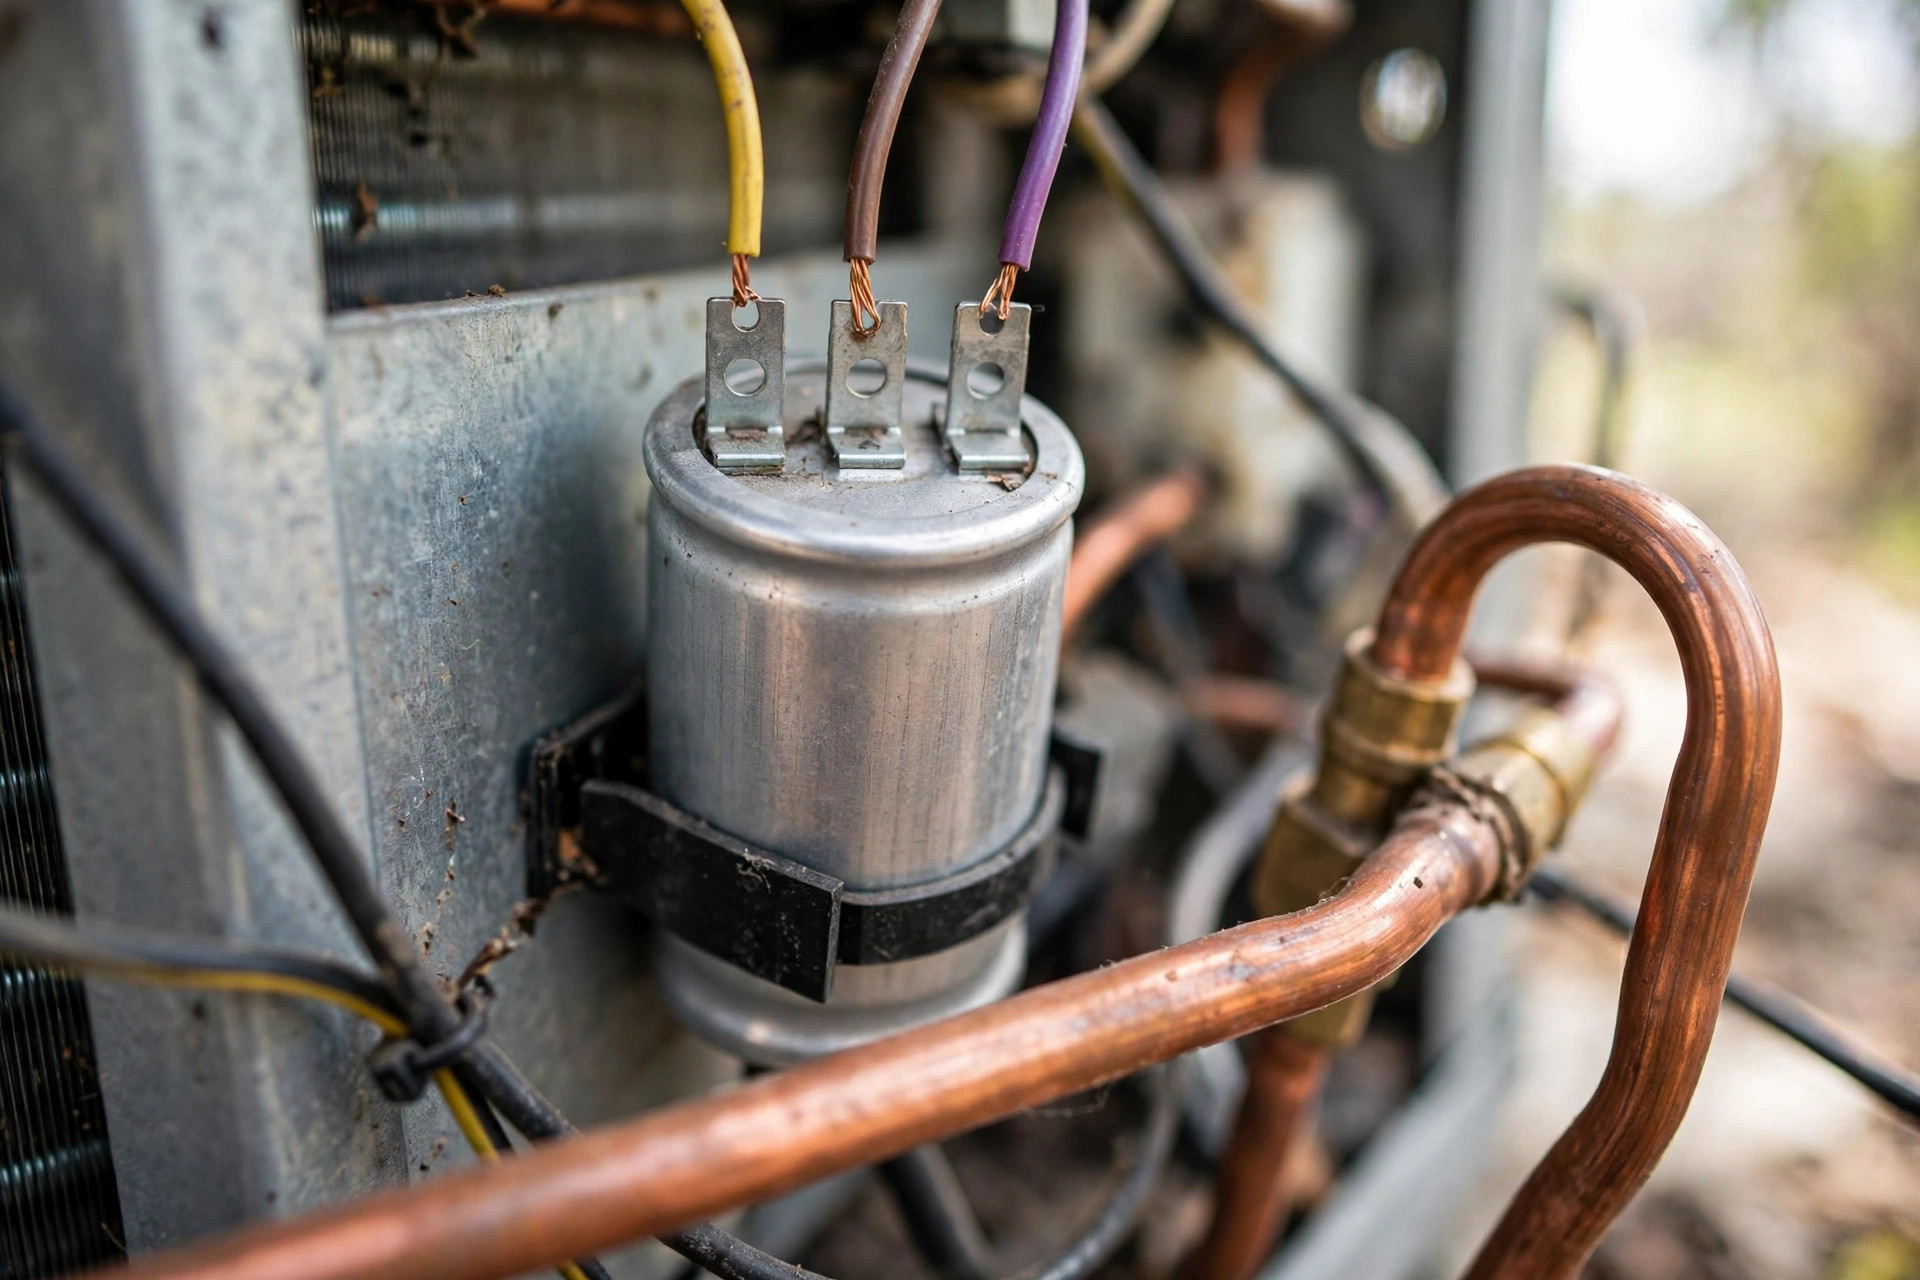
The dual-run capacitor is a small metal canister inside the outdoor unit with separate sections for the compressor (labeled HERM-C) and the condenser fan (FAN-C). It gives the compressor motor the jolt of starting torque it needs. Florida's heat and humidity accelerate capacitor failure, and here on Marco Island many units go through one every 5 to 7 years. Signs of a bad capacitor: humming but not starting, the compressor struggling or clicking, a swollen or bulging capacitor casing, or breakers tripping at startup.
A technician tests the capacitor with a multimeter in capacitance mode — the reading should land within about ±6% of the labeled microfarad value (for example, 43–47 µF on a 45 µF section). Outside that range, the capacitor gets replaced. The part itself is inexpensive — industry sources commonly cite roughly $15–$40 for the component and $150–$300 installed, depending on system and labor. Before you approve a compressor replacement, always confirm the technician has tested the capacitor first. A perfectly good compressor can look dead because of a bad capacitor, and that misdiagnosis is an expensive mistake.
Refrigerant Leaks: Why Your Compressor Keeps Struggling
Low refrigerant is one of the hardest-working compressor killers — and one of the most misunderstood. Refrigerant systems are sealed, so low refrigerant almost always means there's a leak somewhere: at flare connections, Schrader valve cores, evaporator or condenser coil tubing, or line-set joints. On Marco Island, salt air corrodes copper coils and fittings faster than inland, making leaks more common on older coastal systems.
Watch for these symptoms: ice forming on the copper lines at the outdoor unit, a hissing sound from the unit, warm or weak air from the vents, or the system running far longer than it used to. The repair process is straightforward but strictly professional work — refrigerant handling requires EPA certification. A technician locates the leak (electronic detector, nitrogen pressure test, or UV dye), repairs the joint or section, pressure-tests, evacuates the system with a vacuum pump to remove air and moisture, and recharges it to the manufacturer's specified charge. Industry sources commonly cite leak repair plus recharge in the roughly $300–$800 range depending on leak location and system size.
Two things to know: first, simply "topping off" refrigerant without fixing the leak is throwing money at a temporary fix — the leak keeps leaking. Second, running a system low on refrigerant starves the compressor of cooling (refrigerant carries heat and cools the compressor motor), which can overheat and destroy it. If you spot ice or hear hissing, turn the system off and call for HVAC repair rather than running it through the night.
Electrical Components: Contactors, Relays, and Wiring
Between the thermostat and the compressor sits a chain of electrical components — contactor, relays, control board, and wiring — and any broken link stops the compressor cold. The contactor is a heavy-duty switch in the outdoor unit that the thermostat's low-voltage signal engages with an audible click. Symptoms of electrical trouble: rapid repeated clicking with no startup, the outdoor unit completely silent despite the thermostat calling for cooling, or intermittent operation.
Corrosion is the Marco Island wrinkle. Salt air eats contactor points and wire terminals, and humidity breeds corrosion inside electrical compartments. A pitted contactor, corroded terminals, or chewed wiring from coastal pests are routine findings on local service calls. Repairs here are usually quick: a contactor or relay replacement, terminal cleaning, and wire repair. The key safety note from every HVAC source: never bypass safety switches or thermal overloads to "get it running," and never repeatedly reset a tripping breaker — that's a symptom of an electrical fault, not a fix.
Motors: Fan Motors, Overheating, and What They Signal
Two motors share the outdoor unit with the compressor: the condenser fan motor on top and, inside the air handler, the blower motor. A failing condenser fan motor is sneaky — the compressor may still try to run, but without the fan pulling air across the condenser coils, heat can't escape, the compressor overheats, and the system's thermal overload shuts everything down. You'll notice the fan barely turning, screeching bearings, or the unit shutting off after a few minutes.
This is where airflow and ducts enter the story. Weak airflow anywhere — a clogged filter, dirty evaporator coil, collapsed or leaky ductwork — raises system pressures and forces the compressor to work harder and hotter. That's why a good technician checks static pressure, coil condition, and duct integrity during a compressor-related call, not just the compressor itself. Regular AC maintenance catches these: coil washing, filter changes, capacitor testing, and drain clearing keep the whole system — compressor included — running within safe operating pressures.
When Components Fail Together: Repair or Replace?
Here's the decision framework technicians actually use. Residential compressors typically last 10 to 15 years with decent maintenance — Florida's long cooling seasons tend toward the lower half of that range. Consider the repair path when the unit is under 10 years old, the compressor is under parts warranty, and the rest of the system (coils, air handler, ductwork) is in good shape. A capacitor, contactor, or motor repair on an otherwise healthy system is almost always the right call.
Lean toward AC replacement when the compressor itself has failed on a system past 10–12 years, when multiple major components are failing together, or when the unit uses phased-out refrigerant with escalating repair costs. A new system also brings a meaningful efficiency jump — modern systems carry higher SEER2 ratings — which matters when your AC runs most of the year. Our companion guide on repair vs. replace walks through the math in detail.
What to Expect When a Marco Island Tech Arrives
A proper compressor diagnosis follows a sequence, and it's worth knowing so you can tell a thorough tech from a part-swapper. Expect: a thermostat and control-signal check first, then breaker and disconnect verification, a visual inspection for leaks, corrosion, and damaged wiring, capacitor and contactor testing with a multimeter, refrigerant pressure and superheat/subcooling measurements, compressor winding resistance and ground-fault checks, and airflow/duct assessment. Only after that chain should anyone quote a compressor replacement.

Ask one question before approving: "Did you test the capacitor, contactor, and refrigerant charge?" If the answer is vague, get a second opinion. A reputable HVAC repair tech will happily walk you through what they tested and why.
Keeping Components Alive in Salt Air
Marco Island's coastal climate is beautiful and brutal on AC equipment. Salt air corrodes coils, contactors, and line sets; humidity accelerates electrical failure; and most systems here run 10–12 months a year. Three habits extend component life dramatically: keep the outdoor unit rinsed and clear of debris and vegetation (salt crust insulates the coils and traps heat), change filters on schedule so airflow stays strong, and get a professional tune-up at least annually — coil cleaning, capacitor testing, drain clearing, and a refrigerant charge check. Our AC maintenance guide covers the full checklist.
If your system is making new noises, cycling oddly, or icing up, don't wait for a full breakdown in August heat. Emergency AC repair is available when cooling fails, but the cheapest compressor repair is always the one you prevent. When in doubt, a diagnostic visit costs far less than a dead compressor — and catching a failing capacitor or a slow leak early is exactly how Marco Island homeowners keep 12-year-old systems running strong.