- The Short Answer: What a Repair Visit Looks Like
- Step 1: Scheduling and the Arrival Walkthrough
- Step 2: The Diagnostic — What Your Technician Actually Checks
- Step 3: The Quote and Your Approval
- Step 4: The Repair Itself
- Step 5: Final Testing and Wrap-Up
- Do You Tip the AC Repair Technician?
- Marco Island Realities: Salt Air, Humidity, and Seasonal Homes
The Short Answer: What a Repair Visit Looks Like
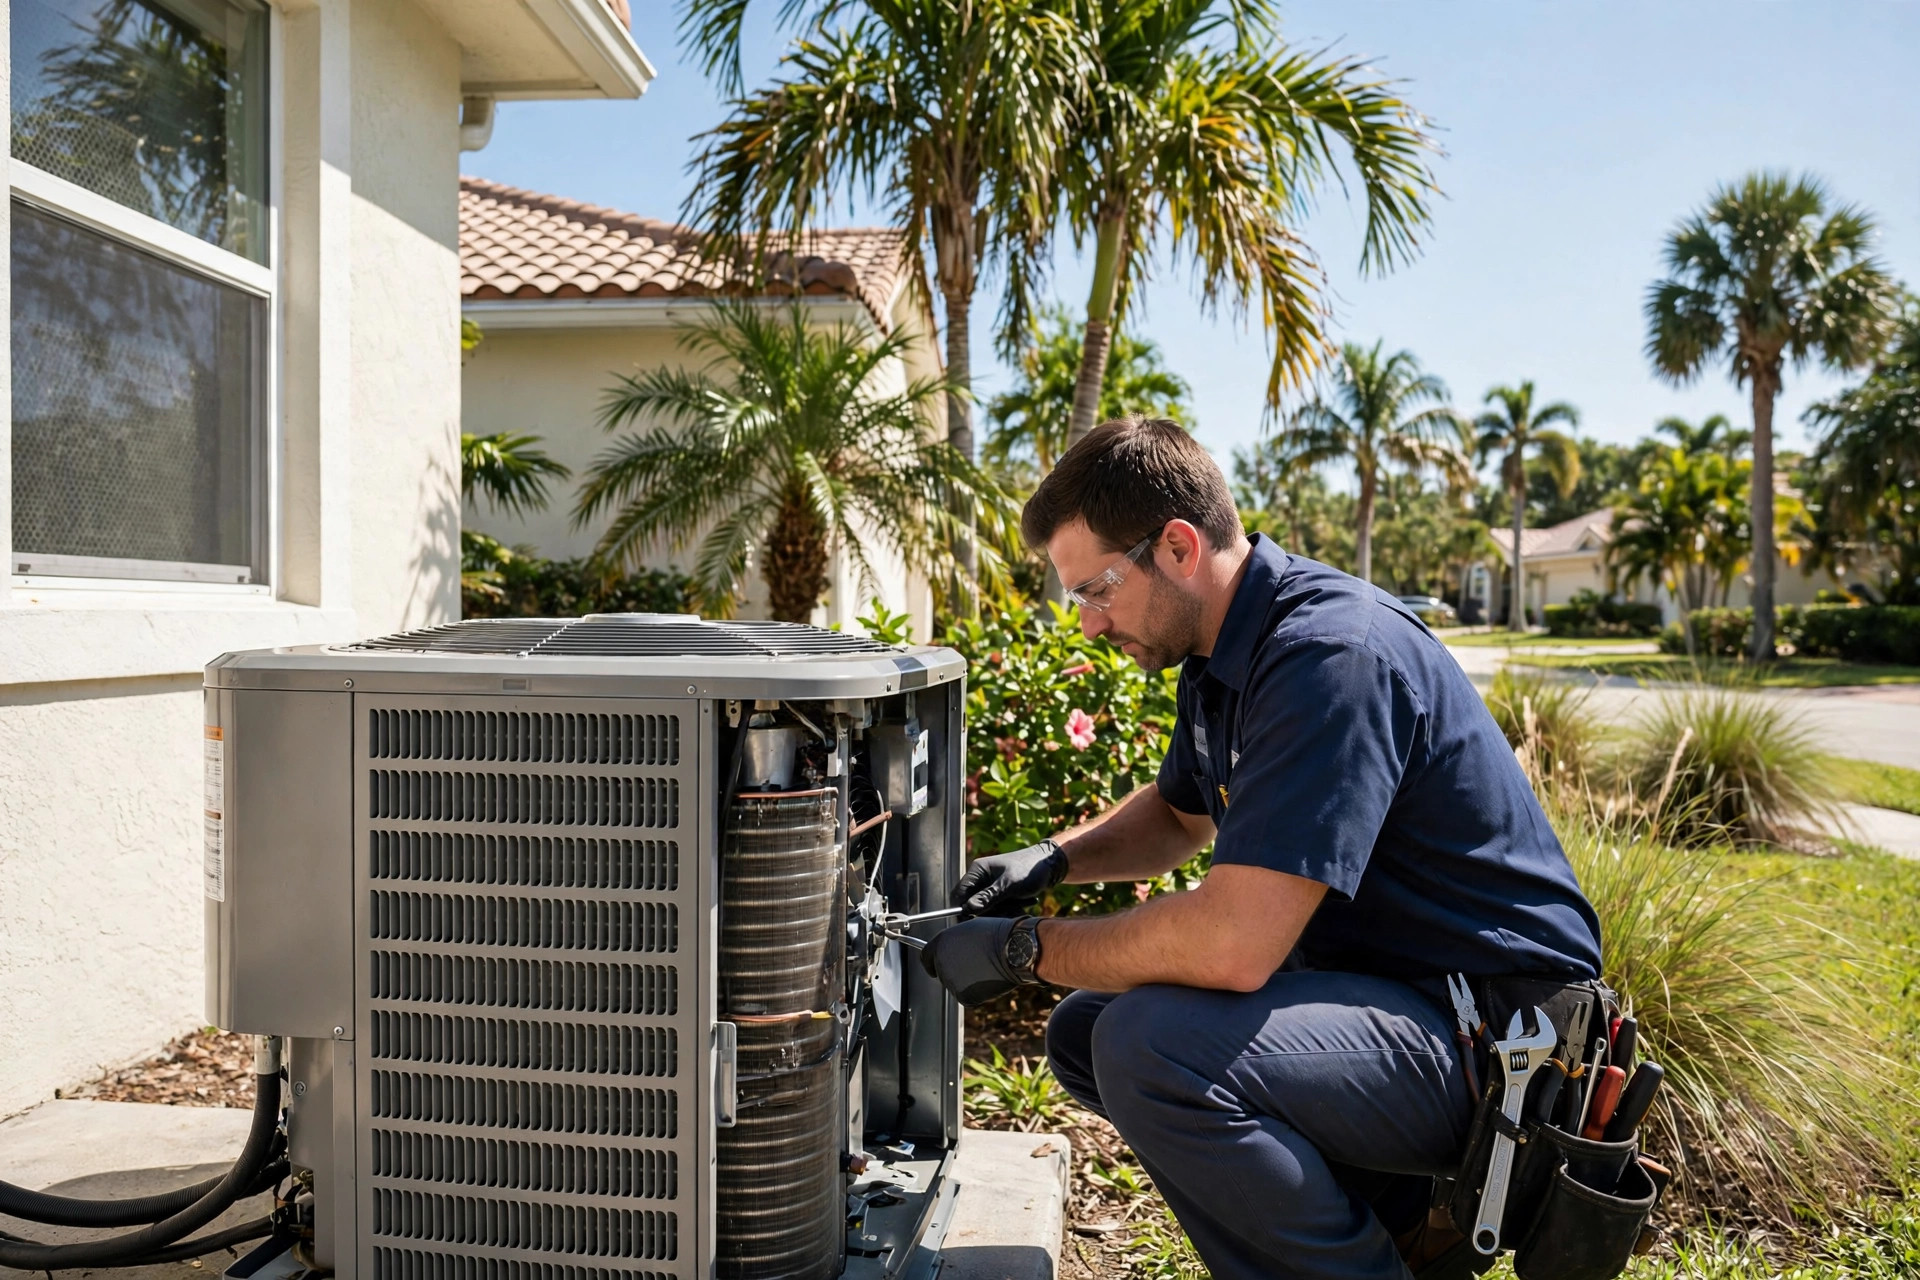
An AC repair visit follows the same arc almost every time. The technician arrives and asks you to describe the symptoms. They inspect and test the system to find the root cause. They explain what they found and give you a written quote. Only after you approve does any repair work happen. Then they test everything again and walk you through what was done.
The diagnostic usually takes 30 to 60 minutes; straightforward repairs add one to three hours. And the question that brings a lot of people here: do you tip the AC repair technician? No, it's not expected. Tipping is an optional gesture for exceptional service, never an obligation.
Step 1: Scheduling and the Arrival Walkthrough
The visit starts working before anyone arrives. When you book, have the symptoms ready with a timeline: when it started, whether it's blowing warm air or nothing at all, any new noises or smells, water leaks, or a tripped breaker. Note which rooms are affected and, if you know it, the system's brand, age, and type (central split, ductless mini-split, or heat pump). Clear access to the indoor air handler and the outdoor condenser saves real time — technicians on Marco Island regularly lose half an hour to overgrown landscaping around the unit.
One local tip: if this is a seasonal or vacation home, tell the scheduler when the house was last occupied. Systems that sit idle in Florida humidity develop signature problems — algae-choked condensate drains, corroded contactor points, even pest nests in the electrical panel — and knowing the vacancy history helps the tech bring the right parts.
A professional arrival looks a certain way: introduction, company ID badge, shoe covers or floor protection before stepping inside. Then the most important five minutes of the visit — they ask you to describe the problem in your own words. A good tech also walks the system: thermostat settings, a glance at the indoor and outdoor units, a first impression before touching a tool. Red flag: a technician who skips the questions and goes straight to replacing parts. Diagnosis first; parts after.
Step 2: The Diagnostic — What Your Technician Actually Checks
This is the real work, and it follows a logic: start from your symptoms, test methodically, and confirm the actual fault before recommending anything. A thorough diagnostic covers:
- Thermostat — communicating with the system, wiring intact, calibration accurate.
- Air filter — a clogged filter chokes airflow and can freeze the evaporator coil solid. The most common "repair" that isn't really a repair.
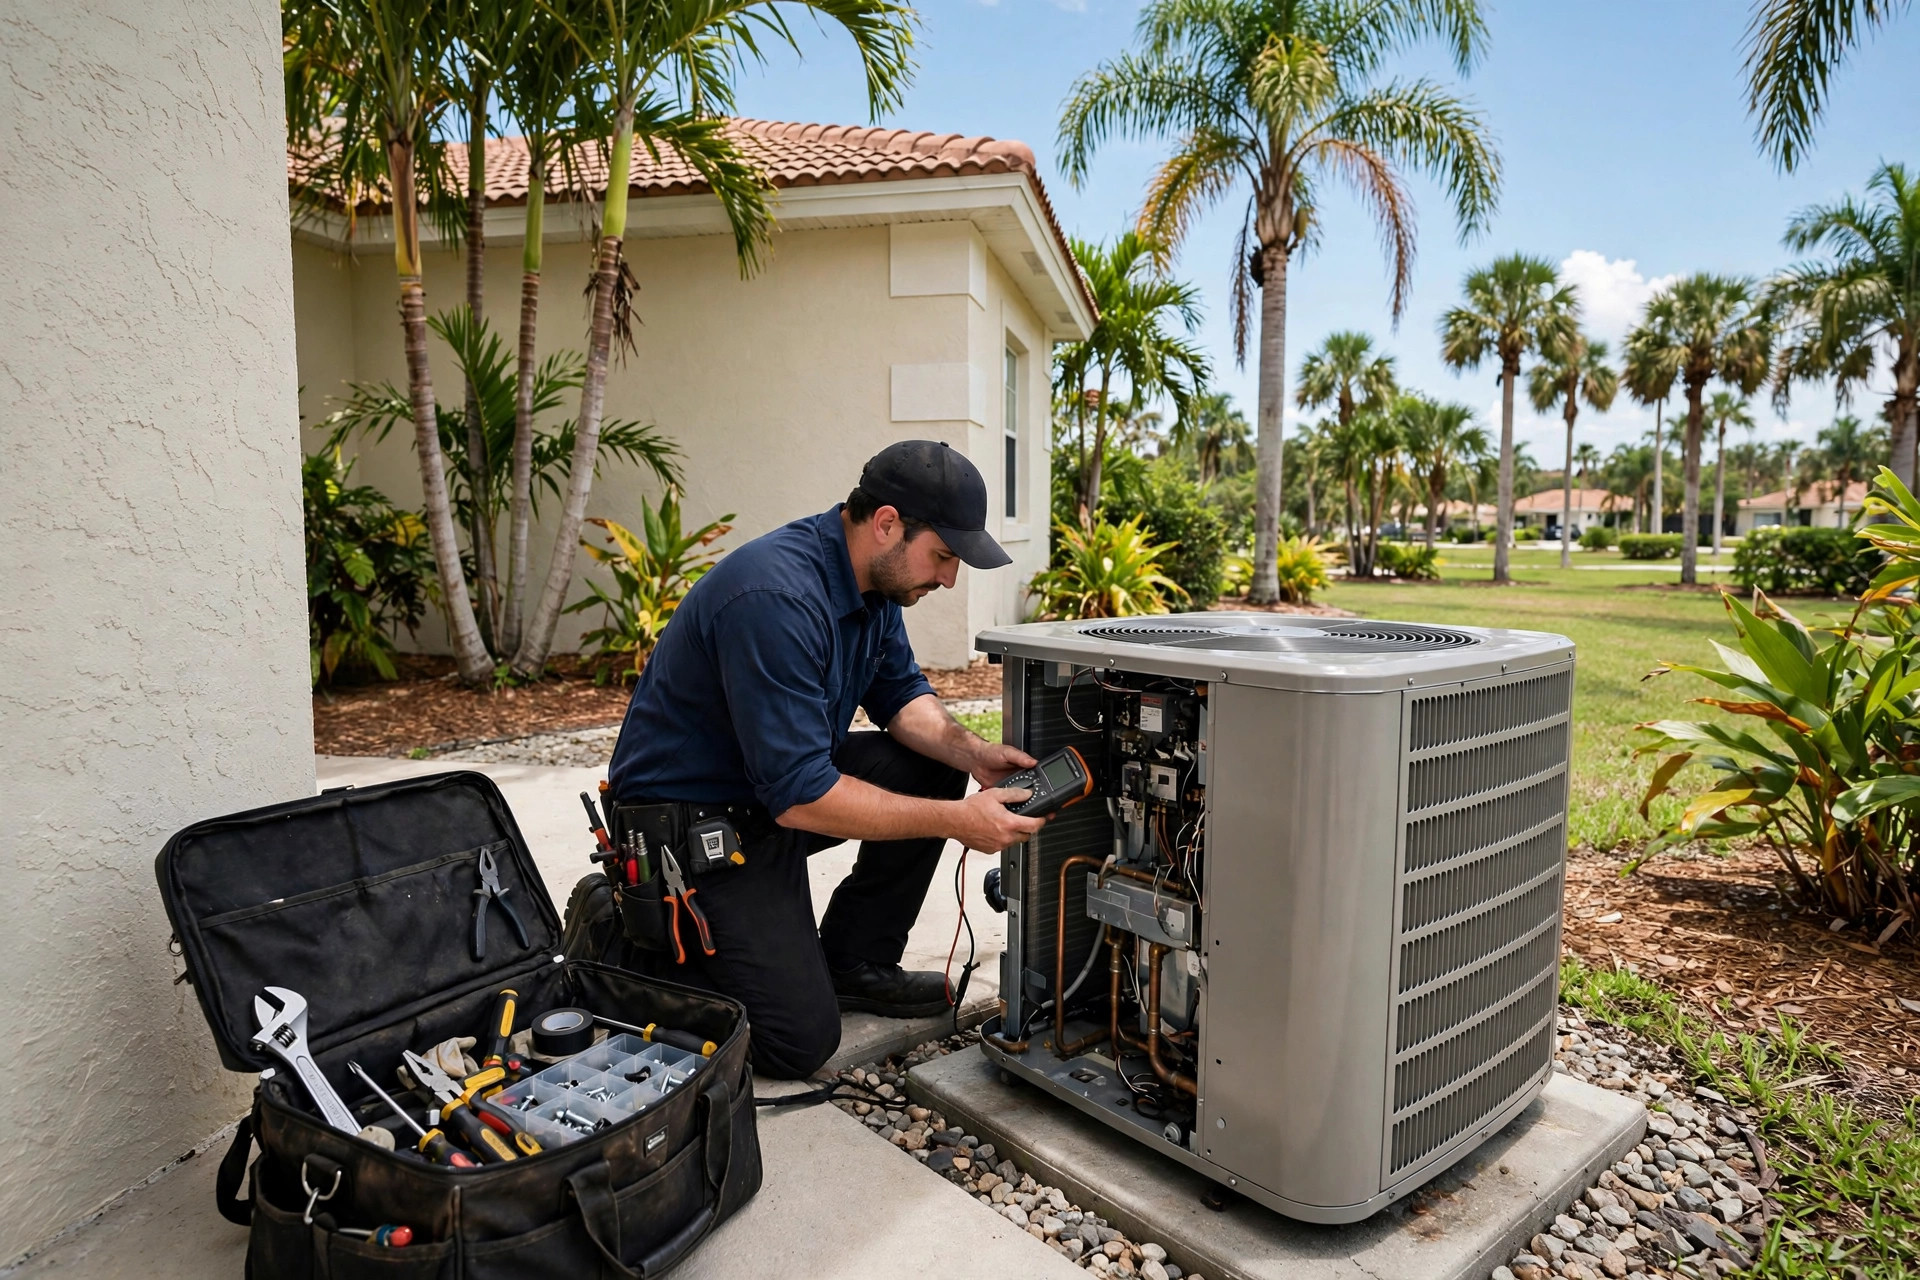
- Electrical components — capacitor, contactor, wiring, and breakers tested with a multimeter. On Marco Island, salt-air corrosion on these parts is a constant suspect.
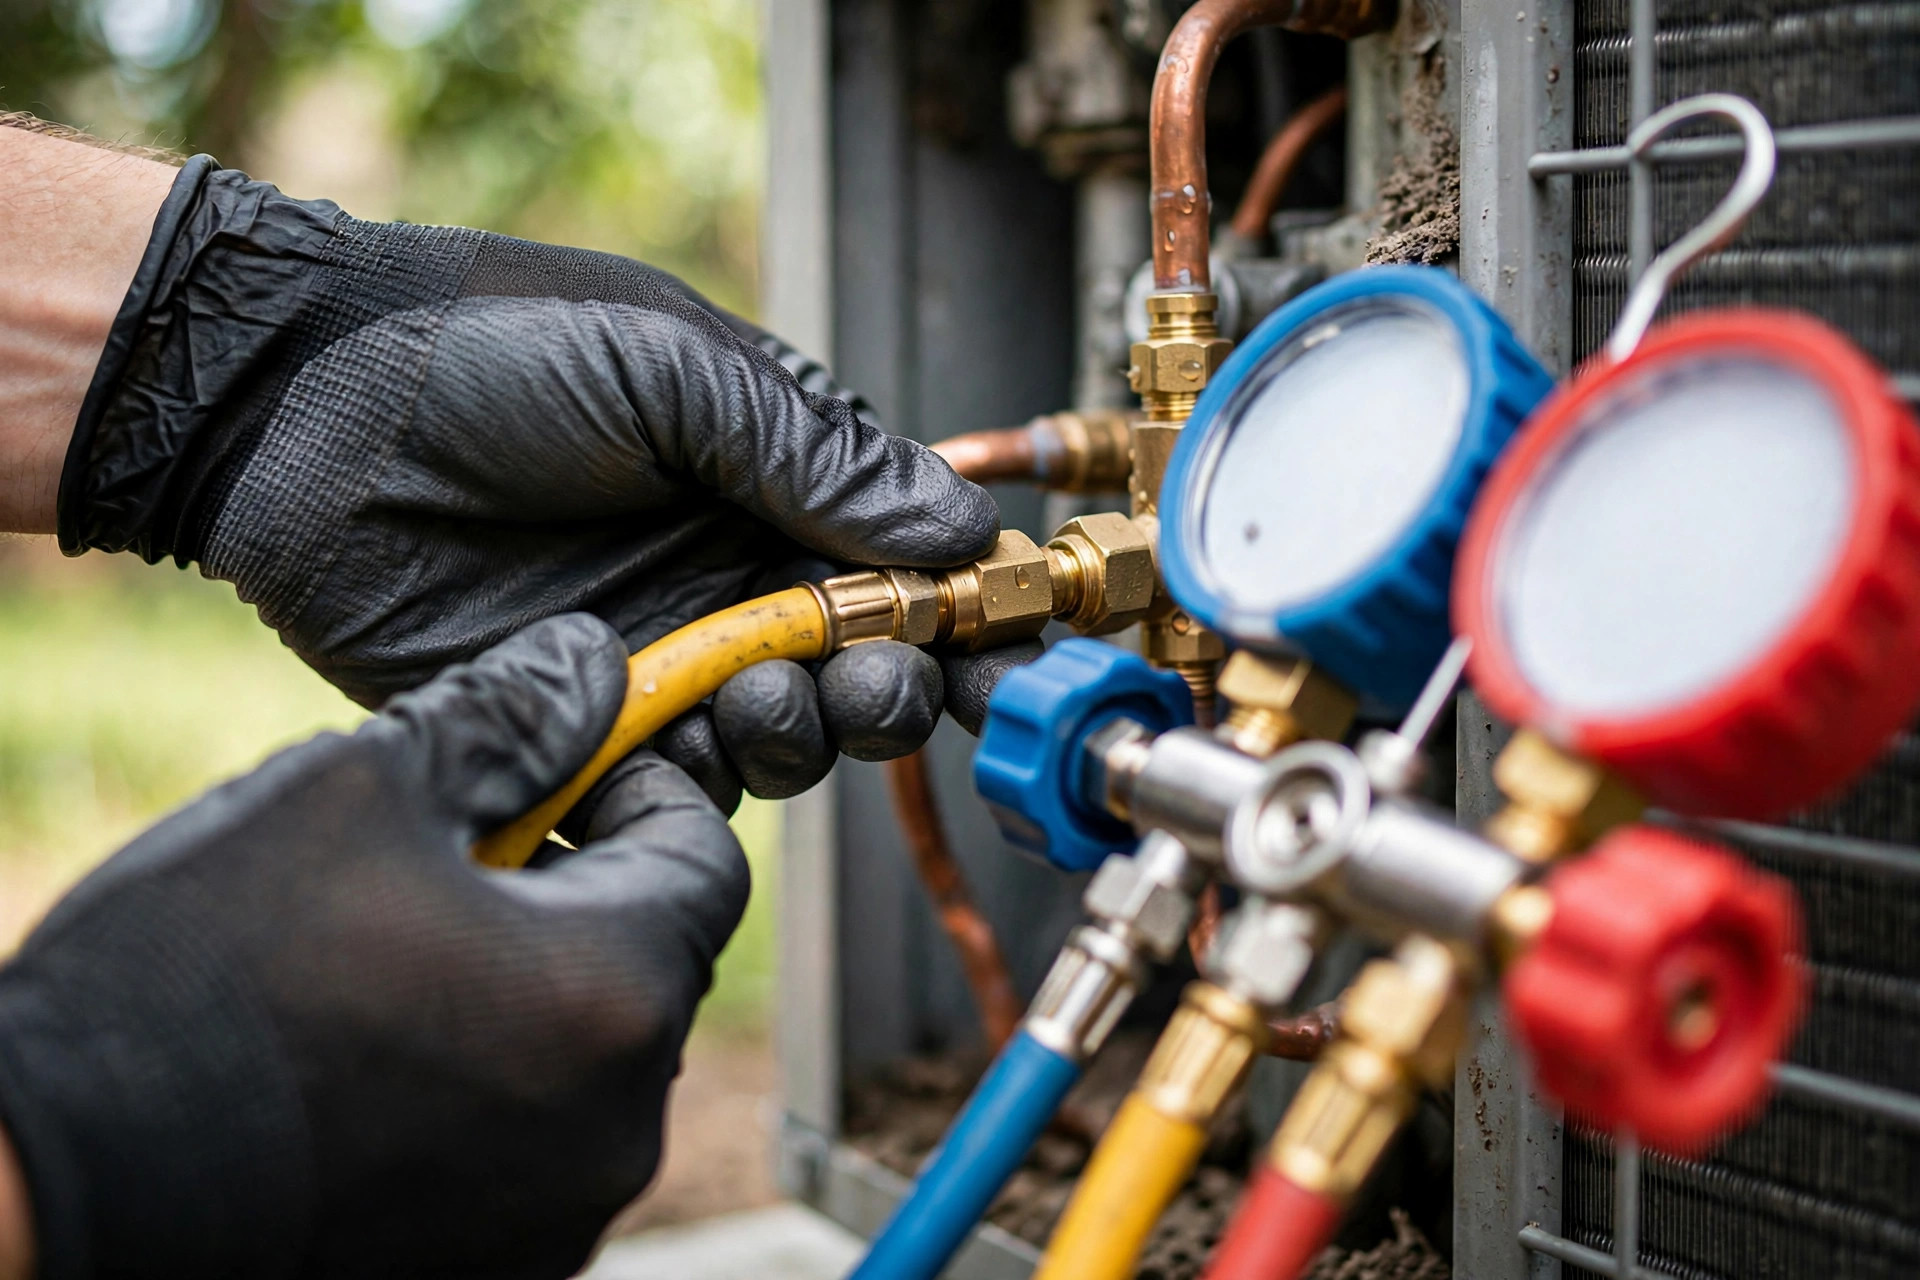
- Refrigerant pressures — gauges on the service ports. Low refrigerant means a leak somewhere — a reputable tech finds and fixes the leak rather than just topping off the charge.
- Evaporator and condenser coils — checked for dirt, corrosion, and frost. Dirty coils can't transfer heat, so the system runs longer and cools less.
- Condensate drain — in Florida humidity, algae clogs drain lines fast. A clogged drain trips the float switch and shuts the system down — one of the most common Marco Island service calls.
- Blower motor and airflow — the tech measures the temperature difference between return and supply air; a healthy system typically shows a split in the 14–20°F range.
- Compressor — amp draw, vibration, unusual noise.
The tools tell you a lot about the technician. Manifold gauges, a multimeter, a thermometer — these mean measurements, not guesses.
Step 3: The Quote and Your Approval
After the diagnostic, you should never be left in the dark. A good technician explains the findings in plain language — what's wrong, why it happened, what the fix involves — and hands you a written quote covering parts and labor before any repair work begins.
Angi's 2026 data puts the initial diagnostic service call at roughly $100–$250, and many companies credit that fee toward the repair if you approve it. Whatever the structure, you should know the full number before work starts, not discover it on the invoice.
This is also when a good tech has the honest conversation: repair or replace? If your system is 12–15 years old and facing a major repair, a straight answer about the math is worth more than the fix itself. Our HVAC repair guide and replacement page walk through that decision in detail.
Step 4: The Repair Itself
Once you approve, the repair is usually the fastest part. The most common first-visit fixes — failed capacitors, pitted contactors, blown fuses, clogged condensate drains, bad thermostats, fan motors, refrigerant leak repairs — are stock items on the truck. That's why first-visit resolution is the norm for everyday faults.
A few things worth knowing while the work happens: power gets disconnected first (non-negotiable safety step, so don't be alarmed when the breaker goes off), and refrigerant handling is regulated — only EPA Section 608-certified technicians can recover and recharge it. If the job needs a special-order part like a compressor, control board, or coil, expect a scheduled return trip; a professional gives you a firm timeline instead of improvising with the wrong part.
If your home runs a heat pump rather than a straight-cool system, say so — the reversing valve and defrost controls add a layer to the diagnostic a generic tech might skip. Our heat pump services explain what's different about them.
Step 5: Final Testing and Wrap-Up
A repair isn't done when the part goes in — it's done when the system proves itself. After the work, the technician should run the system and verify: refrigerant pressures back in range, a proper temperature split across the coil, condensate draining freely, the thermostat calling and the system cycling correctly, no new noises or vibrations.
Then the wrap-up: what was done, which parts were replaced, what to watch for, and maintenance tips to prevent a repeat. The invoice should match the quote you approved, and parts-and-labor warranties should be stated in writing.
This is also the natural moment to talk about preventive maintenance. Most repair visits uncover small issues — a dirty coil, a weakening capacitor — that a tune-up would have caught months earlier.
Do You Tip the AC Repair Technician?
Here's the complete, honest answer.
Tipping is not expected and never required. HVAC technicians are skilled tradespeople paid wages that reflect their training — this isn't a tipped-wage industry. No reputable company or technician expects a gratuity.
When people do tip, it's for exceptional service: a tech who clearly went above and beyond, an emergency call answered late at night or on a holiday, brutal working conditions (a 100°F attic in August qualifies), or a complex multi-hour repair handled exceptionally well.
How much is typical? Repair-industry guides like Engineer Fix and ClimbTheLadder generally converge on these ranges: $10–$25 per technician for a routine visit under two hours; $20–$40 for complex 1–2+ hour work like leak diagnosis; $30–$50 or more per person for major or emergency jobs. Use a flat dollar amount, not a percentage — a percentage of a large repair bill is disproportionate. Hand cash directly to the technician, not added to the card payment or invoice, since there's no guarantee it reaches the person who did the work. And check company policy first — some larger HVAC companies prohibit technicians from accepting tips; if unsure, simply ask: "Are you allowed to accept this?"
Non-cash appreciation counts too. On a scorching Marco Island afternoon, a cold drink offered during the job is genuinely appreciated. So is a positive online review naming the technician, or a referral to a neighbor — for many techs, a five-star review mentioning them by name is worth more than a $20 bill.
Marco Island Realities: Salt Air, Humidity, and Seasonal Homes
A repair visit here isn't quite the same as one inland. Salt air accelerates corrosion — condenser coils, contactor points, and wiring degrade faster near the Gulf, so expect extra time spent rinsing coils and inspecting salt-affected electrical parts. Humidity clogs drains — the condensate drain is the most common "repair" call in coastal Florida, and it's really a maintenance issue; algae grows in standing water fast, and the resulting float-switch shutdowns strand homeowners on the hottest days. Idle systems fail differently — seasonal homes develop dead capacitors, seized contactors, and pest damage, so mention any vacancy.
And when salt corrosion has eaten a 14-year-old condenser, the honest math often favors replacement over another repair — a modern high-SEER2 system also cuts the electric bills Florida humidity drives so high. Our installation page explains how coastal-rated equipment differs.
To recap: describe symptoms with a timeline, clear access to both units, get the findings in plain language and the quote in writing before approving anything, and make sure the system is tested — not just repaired — before the tech leaves. If your system is acting up anywhere on Marco Island, book a repair visit and you'll know exactly what to expect when the technician knocks.